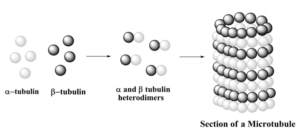
 Yeast: Spindle And Microtubule Assembly...
Temperature control for spindle assembly studies in fission yeast S. pombe is a very powerful organism to study microtubules assembly. The e...
Read more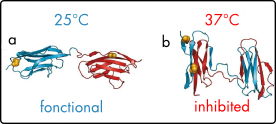 Yeast: Cell Cycle And Thermosensitive Mutations...
Temperature control for S. pombe yeast cell cycle studies Working with S. pombe is working with one of the most powerful tools in genetics. ...
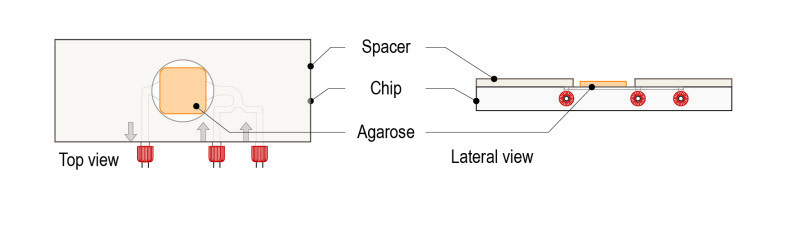
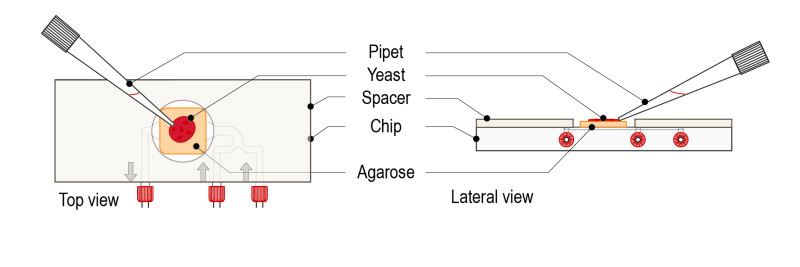
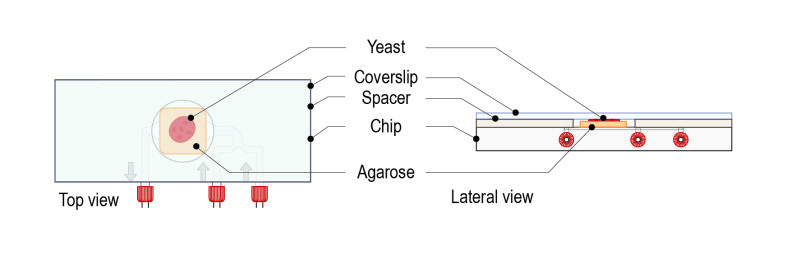
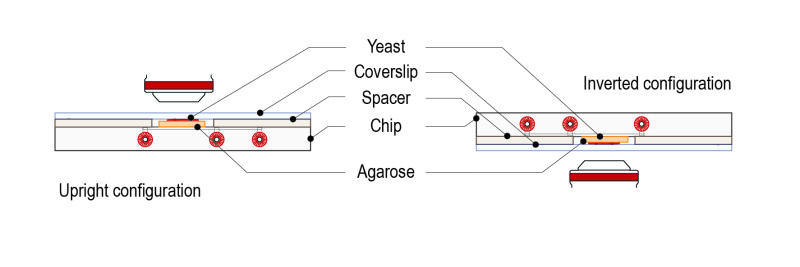
Read more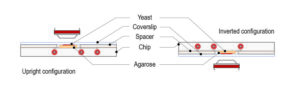 Agarose Pad Protocol For Yeast...
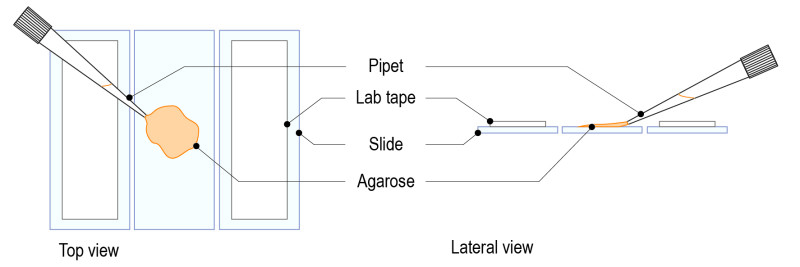
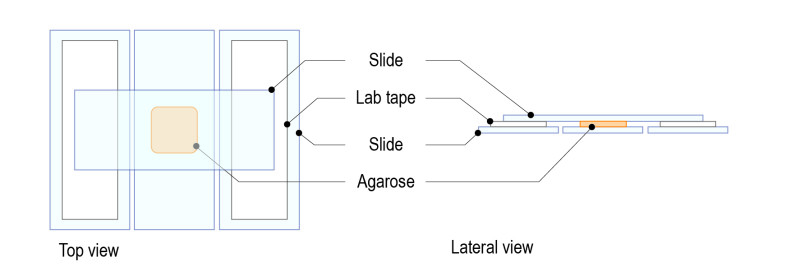
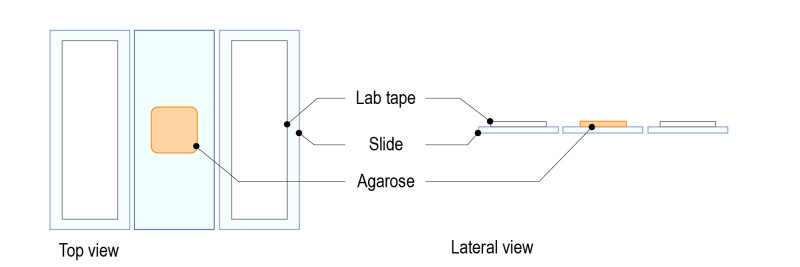
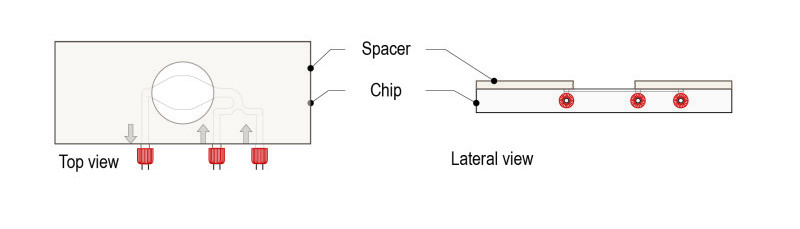
Introduction For full efficiency of the CherryTemp temperature controller, samples must be placed close to the CherryTemp thermalisation chi...
Read more